Planting & Care Guides
CUT-FLOWER GARDEN KITS
Planting & Care
Taking your kit home: make sure to give your plants a few days to adjust to your microclimate before planting (a process called “hardening off”). Keep them outdoors in a mostly shady area protected from strong winds or full sun for 2-3 days. This allows your seedlings to adjust to life outside the cozy greenhouse they’ve been living in. Once hardened off, your seedlings are ready to go in the ground.
Plant in a well-draining area in full sun. Prepare the soil by weeding thoroughly and adding an inch or two of well-aged compost to the surface (no need to turn in). Plant your seedlings at 8 inch spacing, watering well. If freezing temperatures are in the forecast, provide extra protection while they are getting established by draping a thin sheet over your garden bed (suspending the sheet just above the plants without touching them is best, but touching the ground to keep warmth in).
Since this is a cutting garden, your plants have been selected for their tall growth habits and long stems. Providing support is ideal to prevent toppling during wind or rain storms. You can use tomato cages or twine strung between stakes to corral your plants.
Fertilize every few weeks—choose one that has a lower nitrogen ratio (too much nitrogen will give you lush green growth but no blooms). Miracle Grow bloom booster or Neptune’s Harvest are both excellent.
Cut your flowers regularly. Your plants will continue to send up more blooms as long as you don’t let them go to seed, so don’t be afraid to harvest frequently!
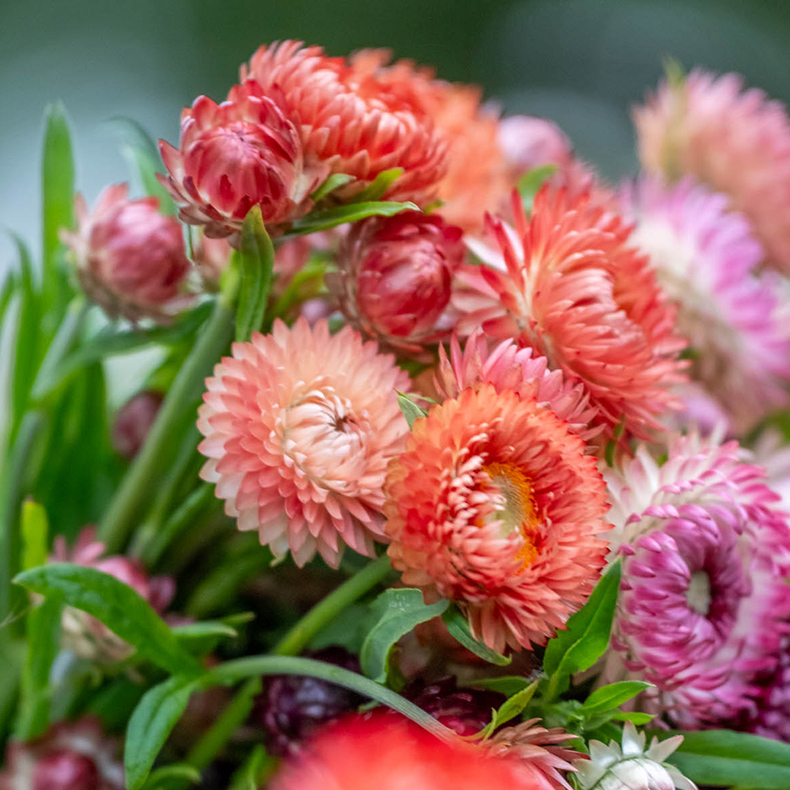
Strawflower
When they are 8 inches tall or so, pinch the top several inches off to just above a leaf node (leaving several sets of leaves on the lower half). This causes the plant to branch, giving you more blooms per plant.
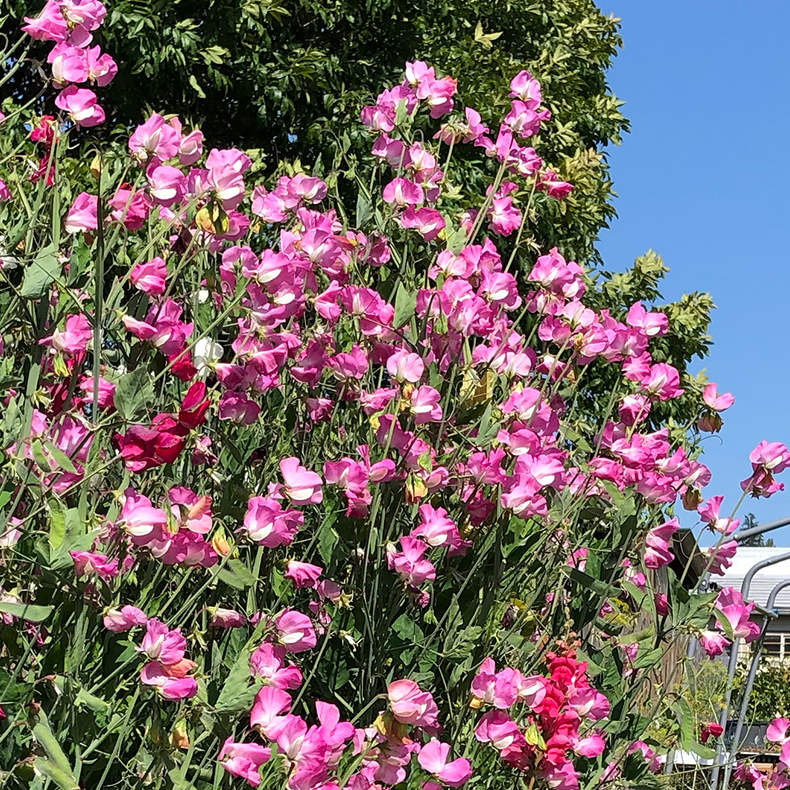
Sweet Peas
Give these guys a trellis to climb on! You’ll want to tie them to the trellis (twine works great) once they are tall enough to reach it to get them started. They should hold on by themselves after that, but if they get too exuberantly floppy you can add a bit more twine to contain them.
Sweet peas also really love manure—they are heavy feeders, so give their soil a good bit of aged manure or compost at planting, and you’ll get a lot more blooms per plant.
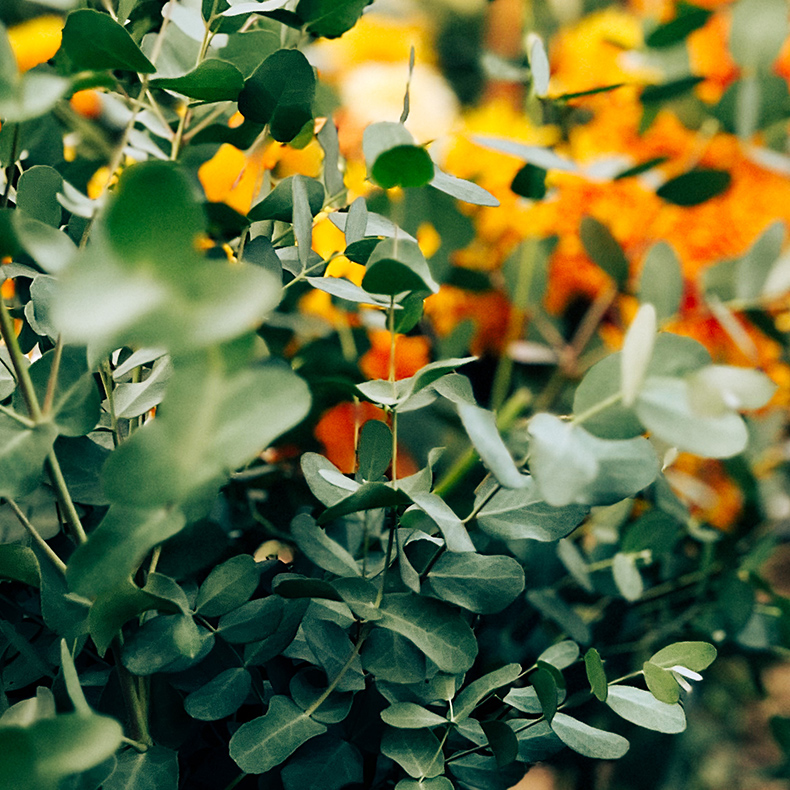
Eucalyptus
In warmer climates, eucalyptus can become very large trees. Here in WA they tend to stay smaller, but still need some extra space (allow 12 inches on all sides). These plants will produce wonderful fragrant foliage for you. They can be grown in pots (deep is best to accommodate their long tap root), raised beds, or in the ground. Size is easily controlled by simply cutting the main stem to whatever height you desire. It will respond by sending out lots of side shoots that are perfect for using in bouquets, shower bundles, or garlands.
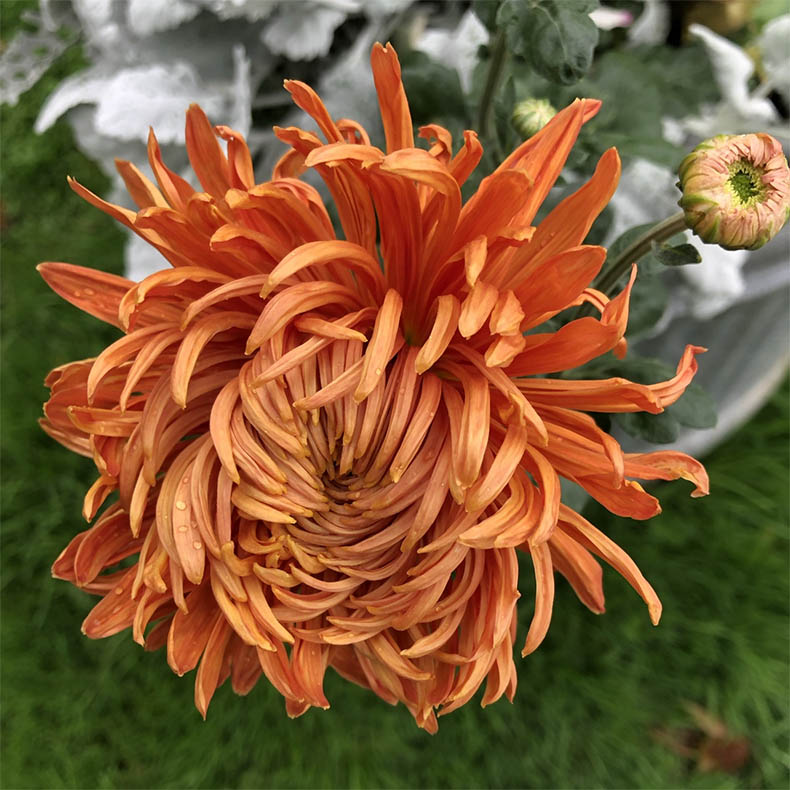
CHRYSANTHEMUMS
Planting & Care
- Perennial
- Full sun
- Blooms early to late fall
- Cold hardy to zone 5
- Plant spacing: 12–16 inches
To produce a bushy plant with more blooms, pinch all growing tips up until July 4. Do not pinch after this date. Blooms may coincide with an early frost, so providing frost protection is important. When freezing night temperatures are predicted, a thin sheet suspended over the plants (don’t let it touch the buds/blooms) will allow you to continue to enjoy flowers until Thanksgiving.
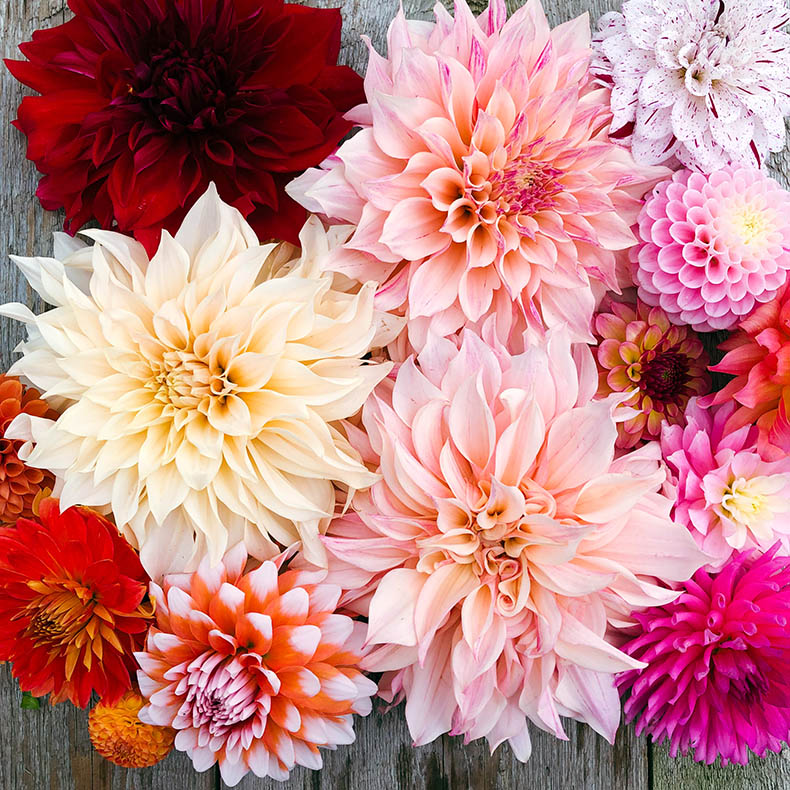
DAHLIAS
Planting & Care
- Full sun
- Blooms summer to first frost
- Not cold hardy; lift tubers in late fall
- Plant spacing: 12 inches
Choose a location with good drainage and full sun. After the last frost, dig holes 3–6 inches deep, lay tubers on their sides, and cover them with 1–2 inches of soil, allowing for 12-inch spacing between plants. Do not water at all until you see sprouts above the surface of the soil. After this point, water well 3–4 times a week. (In extreme heat, water more frequently.) When the dahlias are 8–10 inches tall, pinch to promote branching. Staking your dahlias using a simple corral system with twine and T-posts will keep them from toppling on windy days or during heavy rainfall. Fertilize regularly with a balanced fertilizer that has low nitrogen content. Neptune’s Harvest Tomato & Veg is especially effective. Cut blooms frequently to keep your plant producing all season long.

Fall & winter care/storage
After the first heavy frost, carefully lift your tubers out of the ground (a pitchfork works well). You can shake off excess dirt and store whole clumps in bags or containers with pine shavings. Ideal storage conditions are 40–50 degrees with 80% humidity. A cool basement or garage works well, but make sure your tubers aren’t exposed to freezing temperatures. Check monthly for signs of rot and discard problem tubers. In February or early March rinse your clumps. Then divide them by looking for eyes (like the nubs on potatoes that will grow into sprouts) where the neck attaches to the clump. Using clean, sharp pruning shears, carefully cut tubers off the main stem, making sure they have at least one eye attached (see picture). Now you have more to plant!
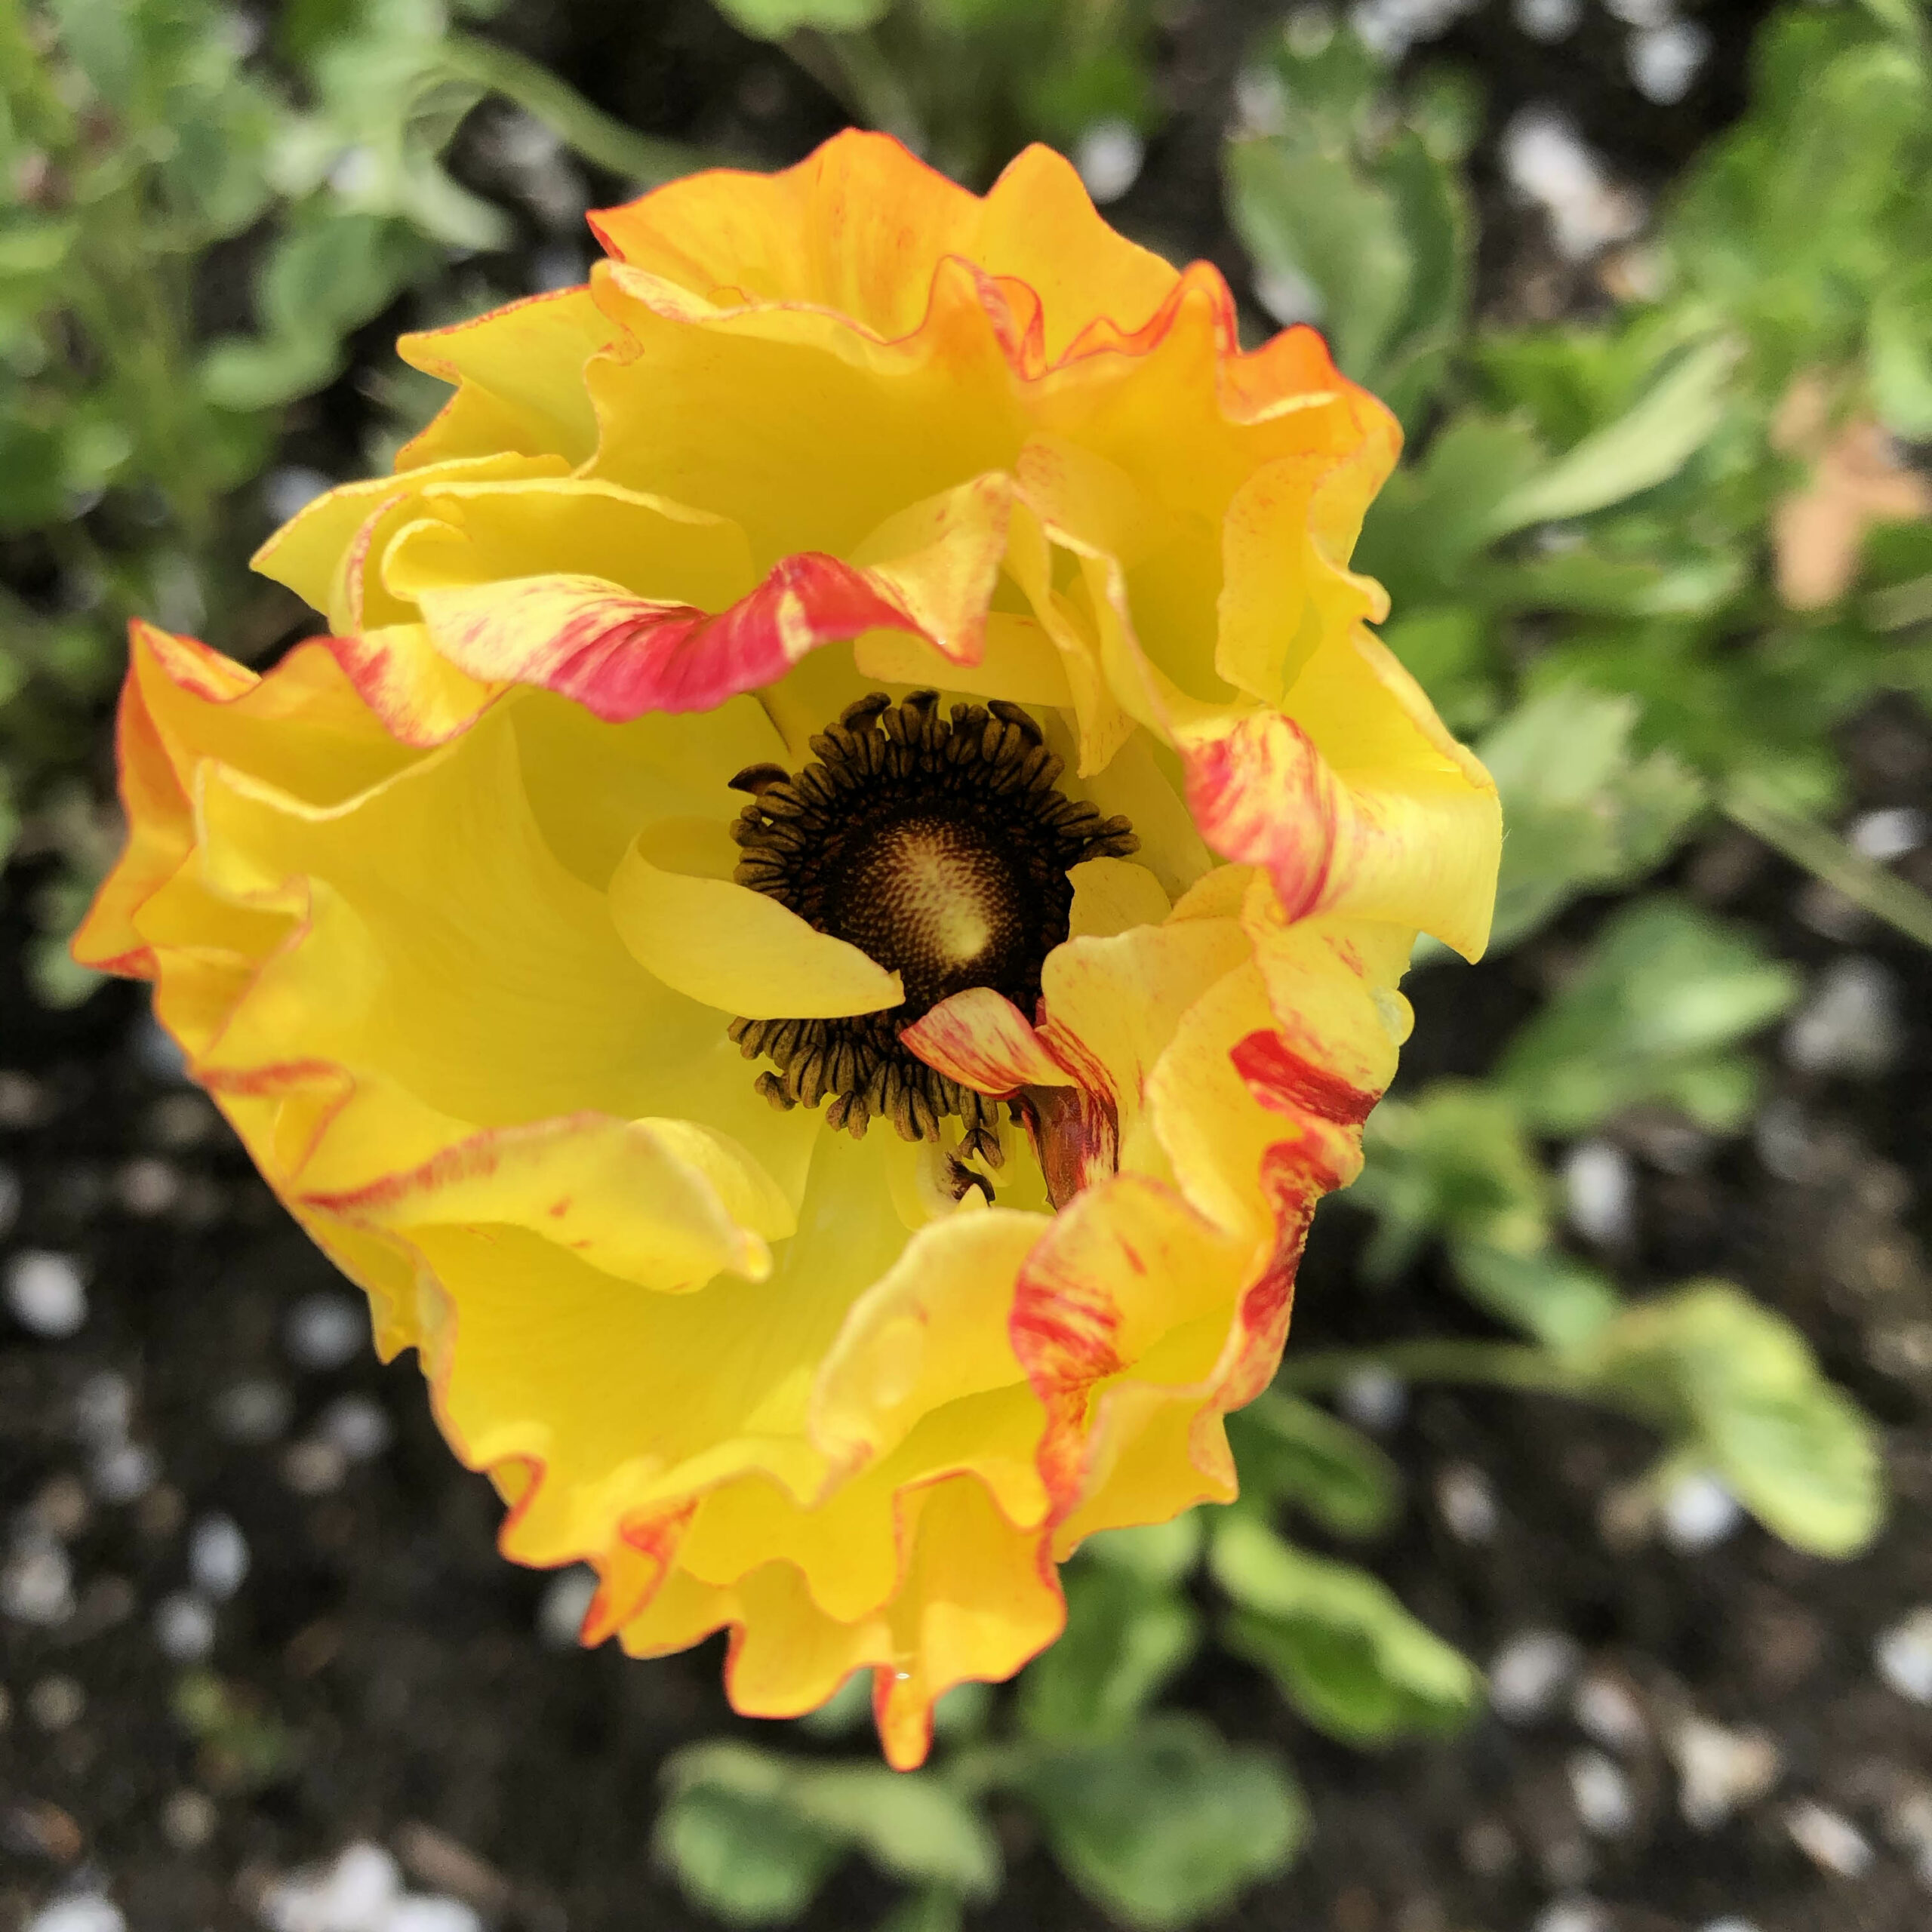
RANUNCULUS
Planting & Care
- Perennial
- Full sun
- Blooms spring
- Winter hardy in zones 8–10
- Plant spacing: 6 inches
Plant in pots or ground with full sun. Fertilize weekly and cut spent blooms (at the base of the plant) to stimulate more buds. Ranunculus thrive in the cool spring. Once the weather heats up they will start to yellow and stop producing. Leave the corms in the ground (or pot) and let the foliage dry up, then lift the corms for storage. Cut off all foliage and leave dirt on the corms (it protects them from rot/excessive drying). Store in an open container in a dark, dry place (a garage or shed works nicely). Replant in November to enjoy your blooms another year!
FLOWER CART
314 W Blackburn Rd
Mount Vernon, WA 98273
PHONE
360.840.8025
All flowers pictured on this site were grown at Blackburn Gardens.